Zoom download and installation instructions for Chromebook computers.
If your host is using our Zoom platform, this must be installed on the device you will use to participate in a session. Zoom only needs to be installed once per device.
You will be automatically prompted to download and install Zoom when attempting to join a meeting but we recommend going through the process below and testing the connection/audio/video ahead of time to be sure everything is working before an actual session.
You may also be interested in these articles:
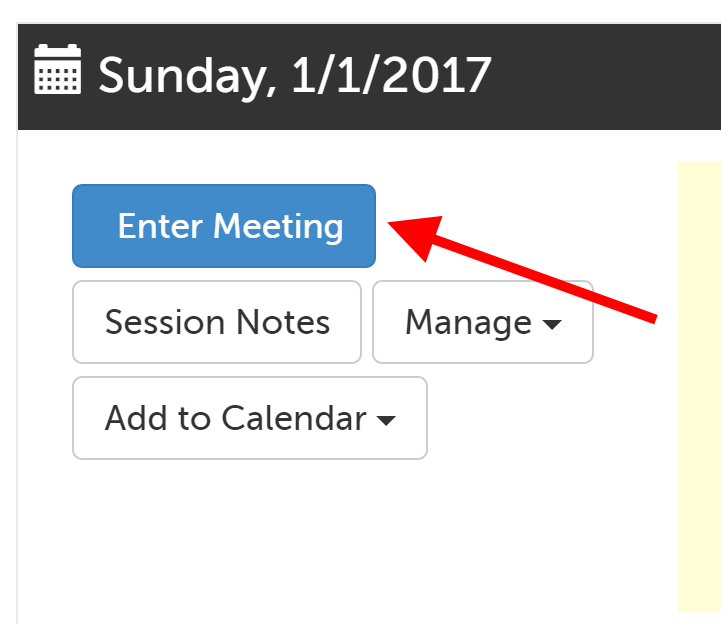
1. If you are an account holder, log in--you will automatically be shown your Dashboard. Before your session, you can click on the "Enter Meeting" button.
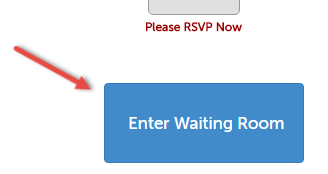
If you are a participant for an upcoming session, you can download Zoom from the "Waiting Room Page". Click "Enter Waiting Room".
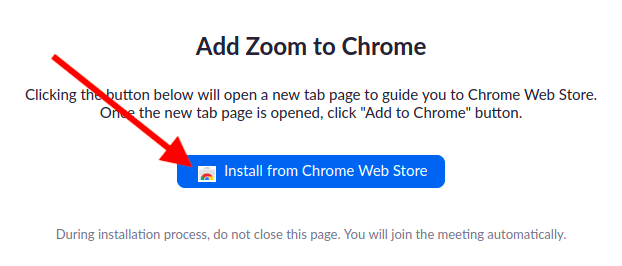
2. You will be redirected to a new page. Click "Install from Chrome Web Store".
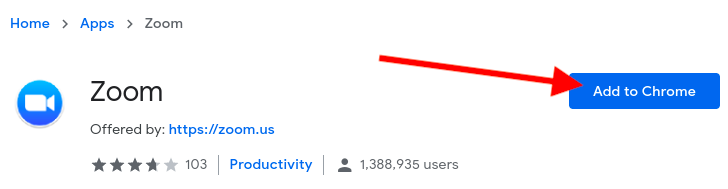
3. You should be taken to the Google Web Store. Click the "Add to Chrome" button.
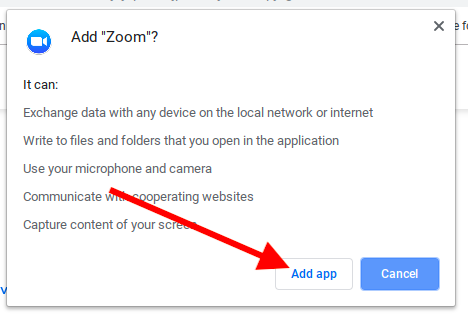
4. When prompted for permission to install, click "Add app".
5. When the installation is complete, the Zoom app should automatically start up to Join a meeting. Click into the "Screen Name" field and enter the name you want to appear on your video tile. Then click the "Join" button to join.

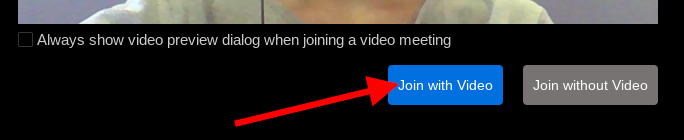
6. There is an additional prompt to confirm you want to join the meeting with your video turned on. Be sure to click "Join with Video" so that your camera will turn on.
This article was last reviewed by our Support team on March 15, 2020.