Scheduling a session on behalf of a host
1. Click on the "Scheduling" tab at the top of the page.

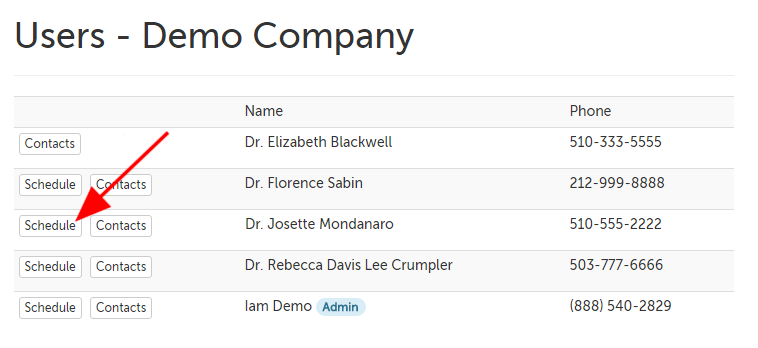
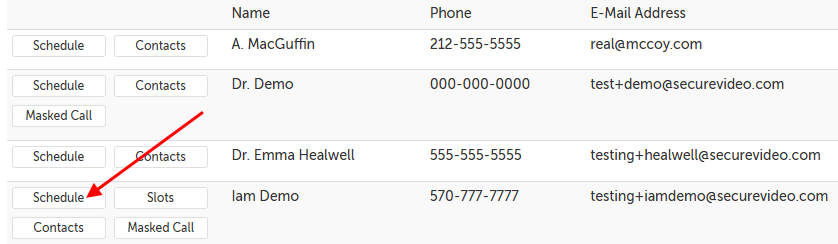
2. Click on the "Schedule" button in the same row as the user you want to schedule on behalf of.
3. You will land on the user's scheduling dashboard (noted along the top). From here, you can schedule sessions as though you are the host. Scroll down to the bottom of the page, where there are two buttons.
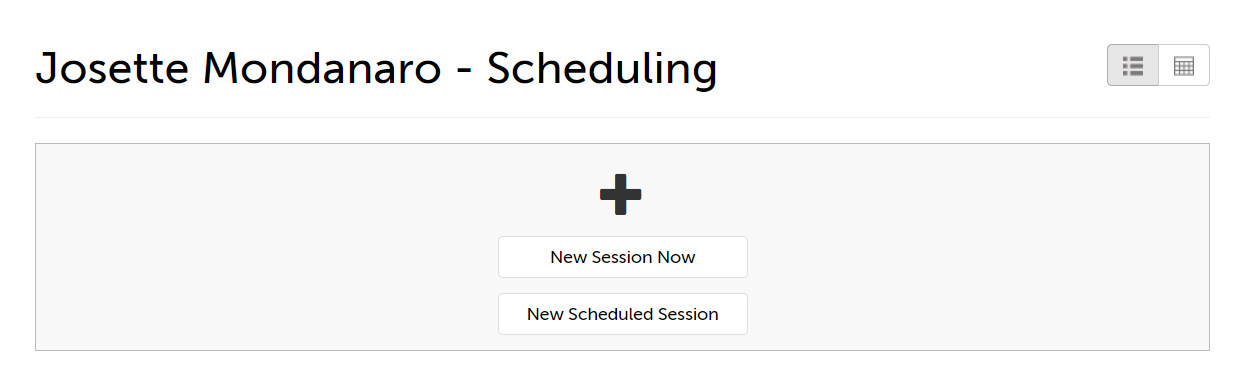
- New Session Now: Schedule a new session for right now (it will prepopulate the current date and time).
- New Scheduled Session: Schedule a new session for a future time (you choose the date and time).
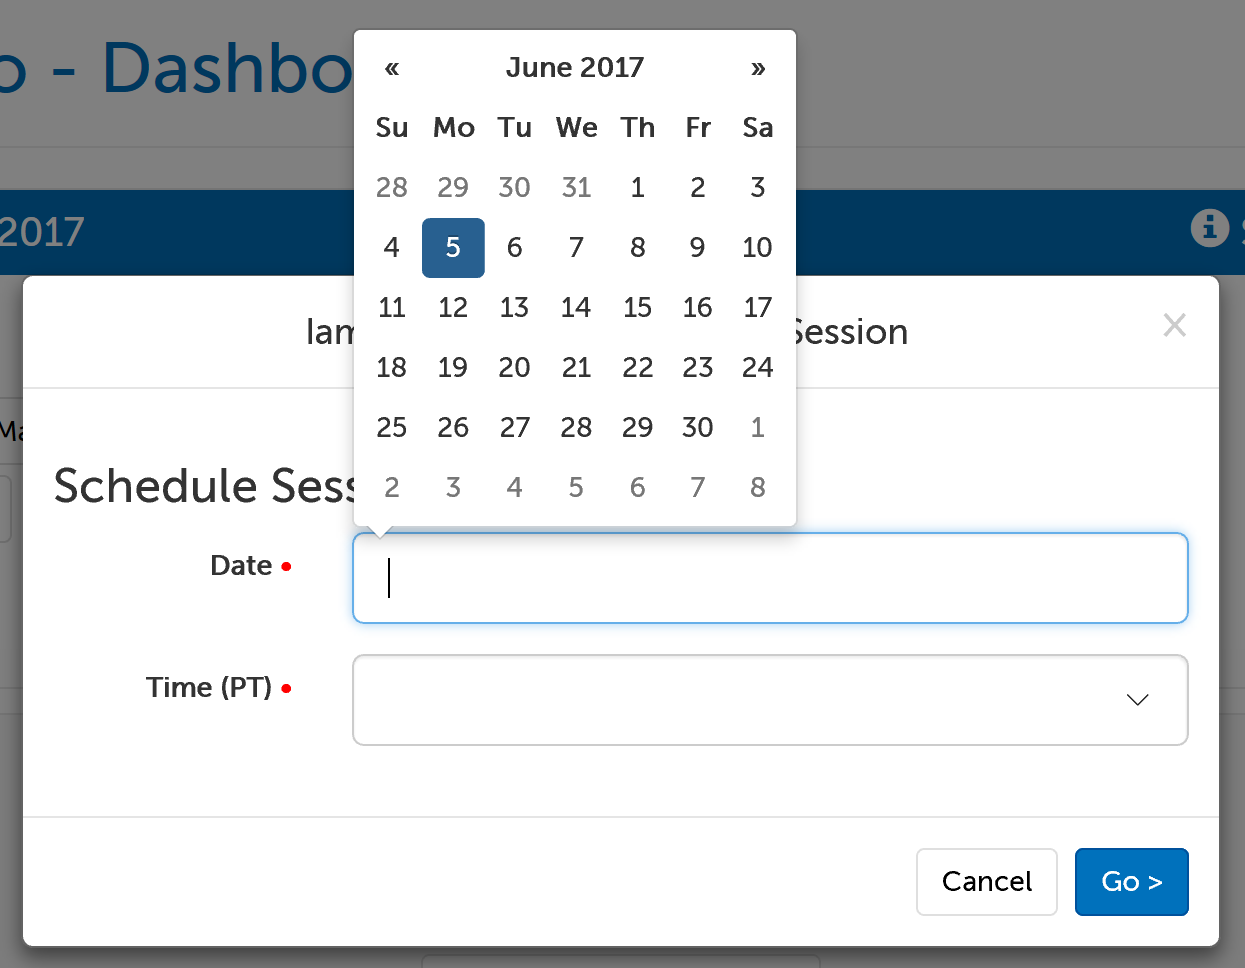
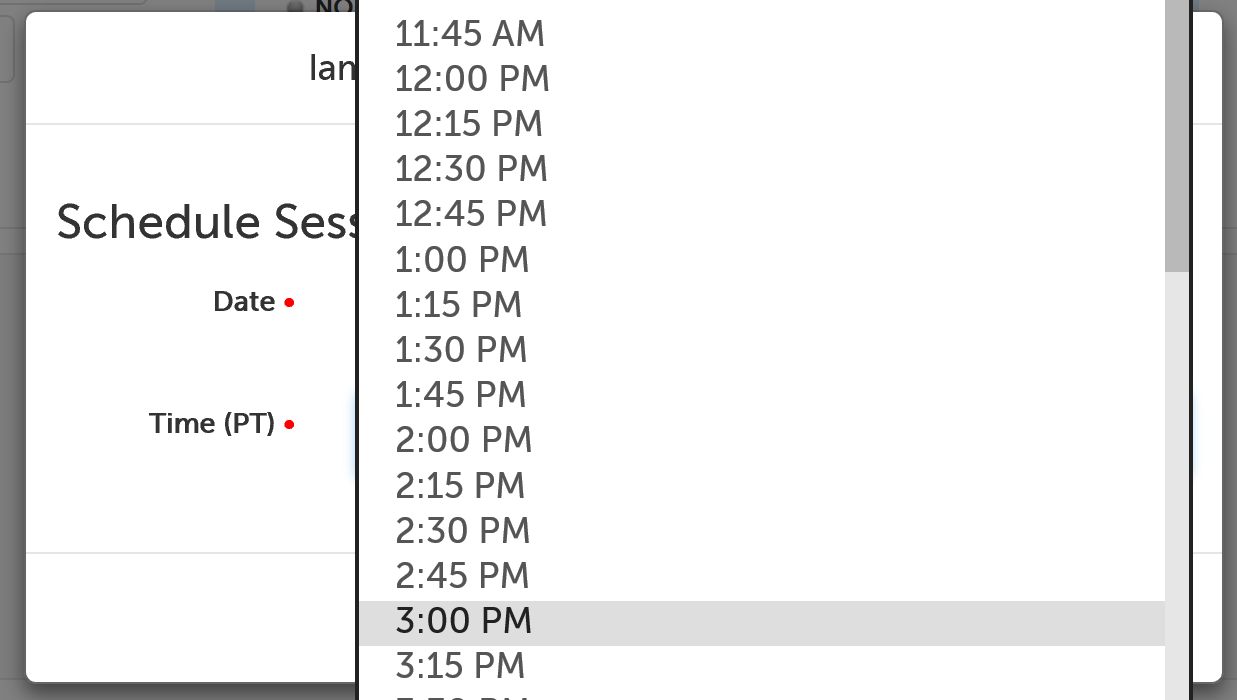
If you choose a New Scheduled Session, you will be prompted to select a date (image below and to the left) and time (image below and to the right):
4a. Once the date and time is selected, or if you chose New Session Now, you will be prompted to enter information for your participant.
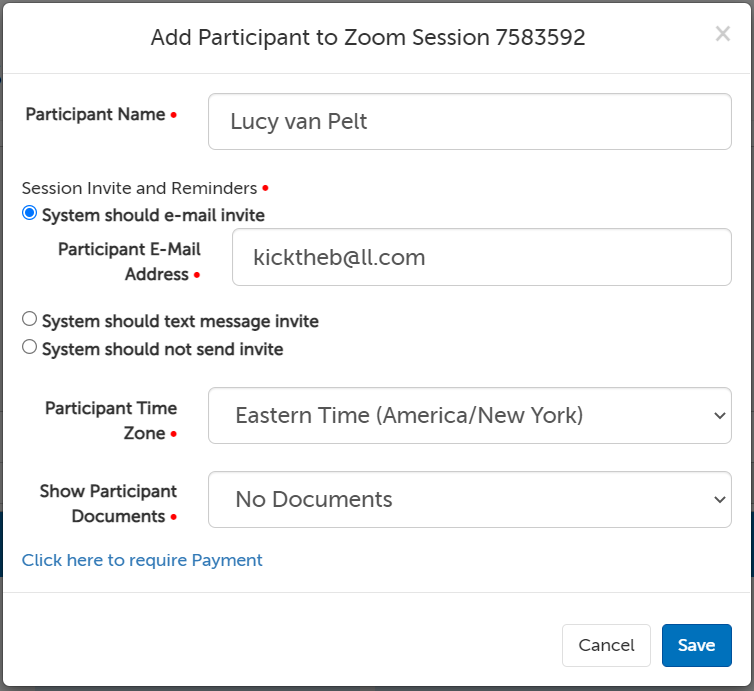
- Participant Name: Enter the name of the participant (minimum of 2 characters). If you have saved this person in your Contacts list or they are a user in the organization that you have permission to access, their name should appear in the autofill once you begin typing.
- Session Invite and Reminders: Select the desired type, and a field will appear for the contact information required. Any contact information saved for this contact will pre-populate. If you would not like to enter contact information for this person, select System should not send invite.)
- Participant Time Zone: Choose the time zone your participant is in--this determines the time and date that will be used for their invitation and reminder e-mails or texts (this defaults to the time zone on your account).
- Show Participant Documents: If you have at least one active E-Document, you will see this question.
- Select "All Documents" to show all active documents to this participant.
- Select "No Documents" to NOT show any documents to this participant.
- If you have created a custom packet, you can select it to show that specific group of documents to this participant.
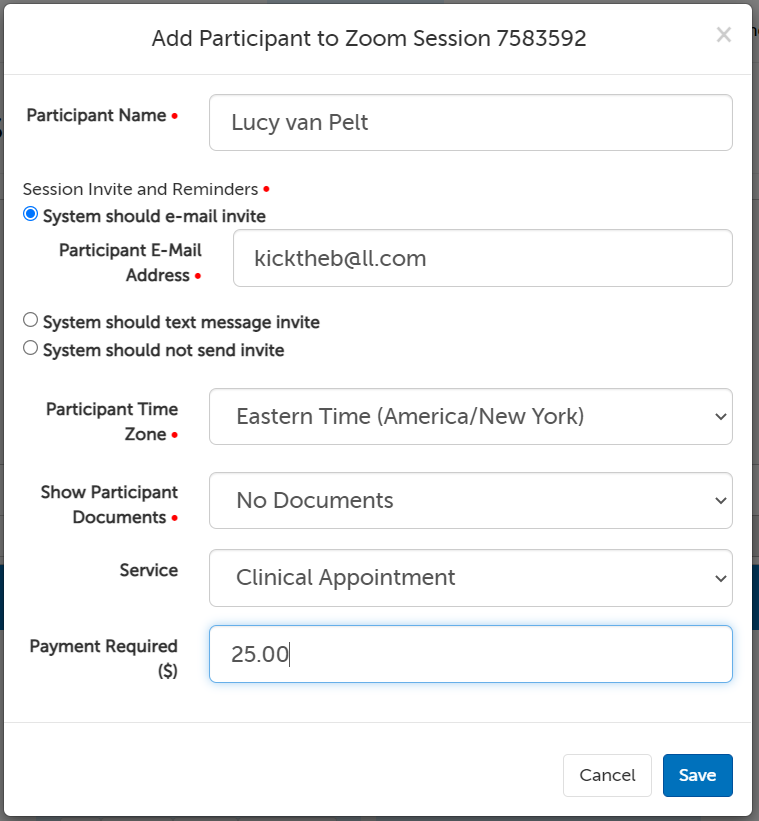
4b. If a Stripe account is connected to your SecureVideo account, and you want to require a payment for this session, click on the link: "Click here to require Payment". This will expand the window so that you can select the service and set the price for the session.
- This link might use different text if your account administrator has chosen to change it.
5. Click the Save button in the lower right-hand corner.
6. If you would like to add another person, use the "Add Participant" button for this session.
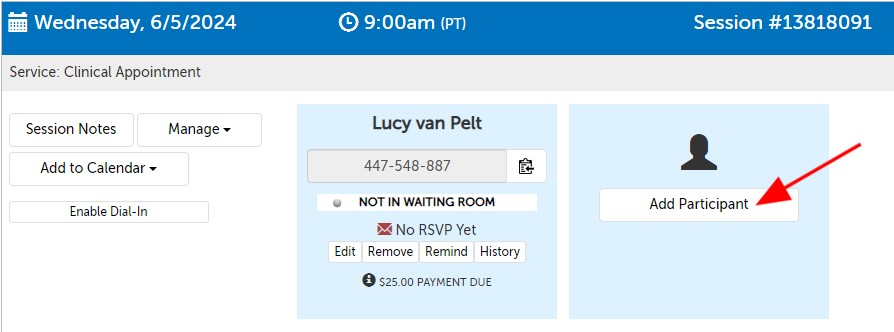
The host will receive a confirmation email when the participant makes a payment, and the status on your dashboard will also change the text from "PAYMENT DUE" to "PAID IN FULL".
Note: If you choose the option "System should not send invite," you will need to remember to give the access code to the participant. (Their participant tile will have a note "E-mail/Text Not Used," to indicate no invitations have been sent to them.)
If you did not send email invitations, then communicate the 9-digit session Access Code to the invitee over the phone or by other private communication.
Joining a session hosted by another Organization User
Just after scheduling the session
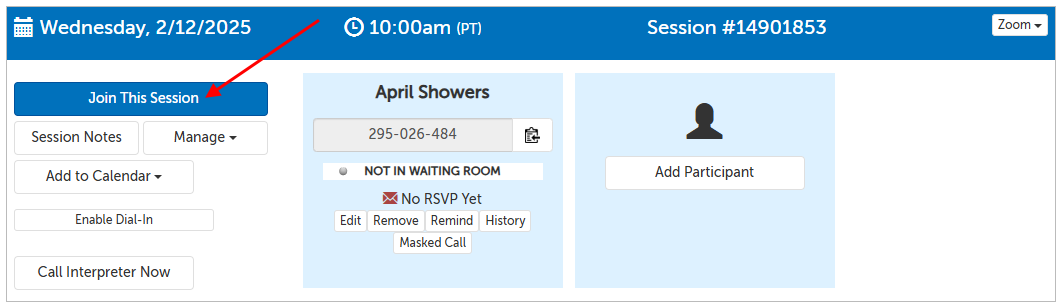
1. If you have just finished scheduling the session, there should be a button in the session panel that says "Join This Session". Click this button to add yourself as a participant and launch the session.
Navigating to the session
1. Click on the "Scheduling" tab at the top of the page.
2. Click on the "Schedule" button in the same row as the user you want to schedule on behalf of.
3. You will land on the user's scheduling dashboard (noted along the top). Scroll down the dashboard to find the session you want to join and click the "Join This Session" button to add yourself as a participant (if needed) and launch the session.
This article was last reviewed by our Support team on Feburary 17, 2025.